Jeu d'échec / Chess game
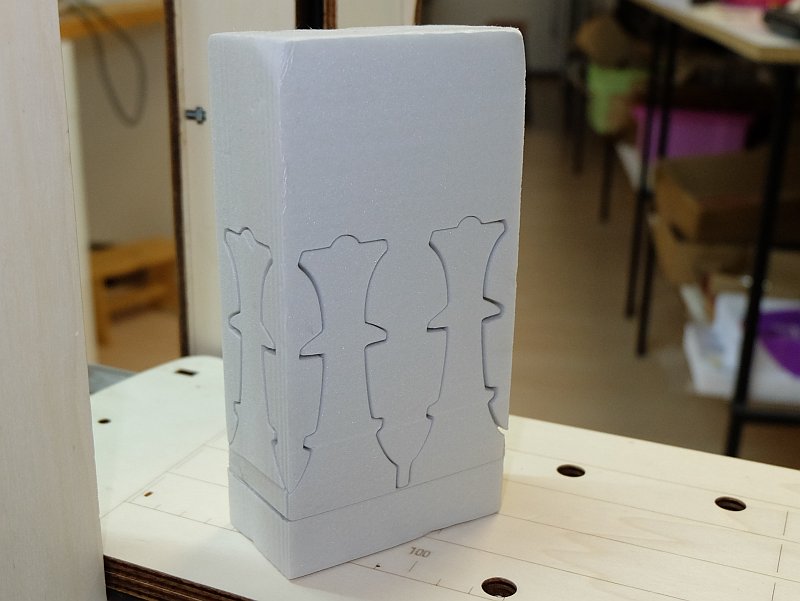
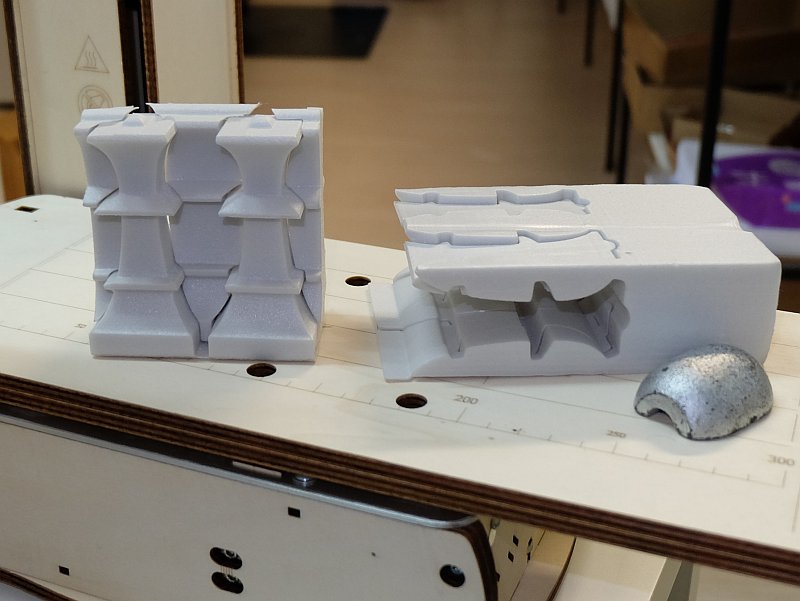
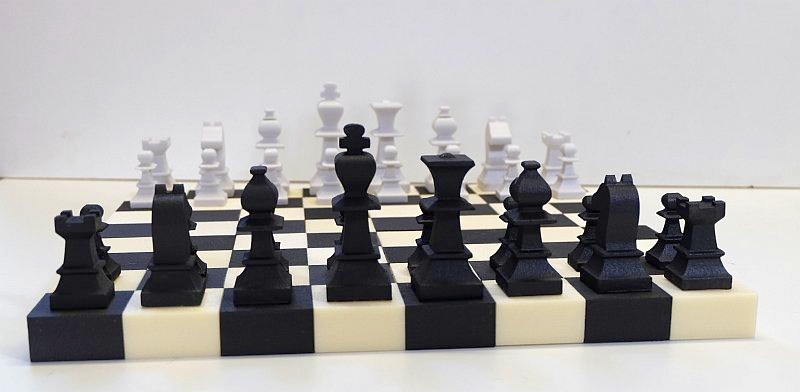
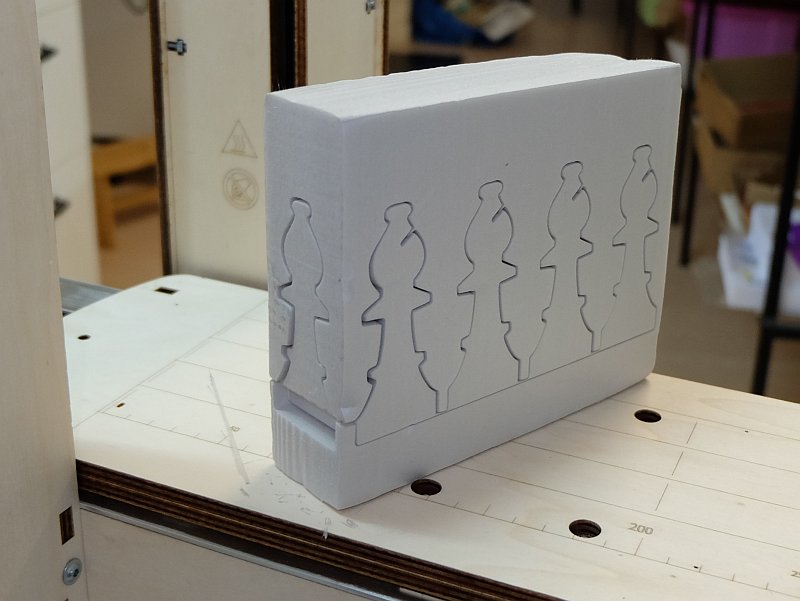
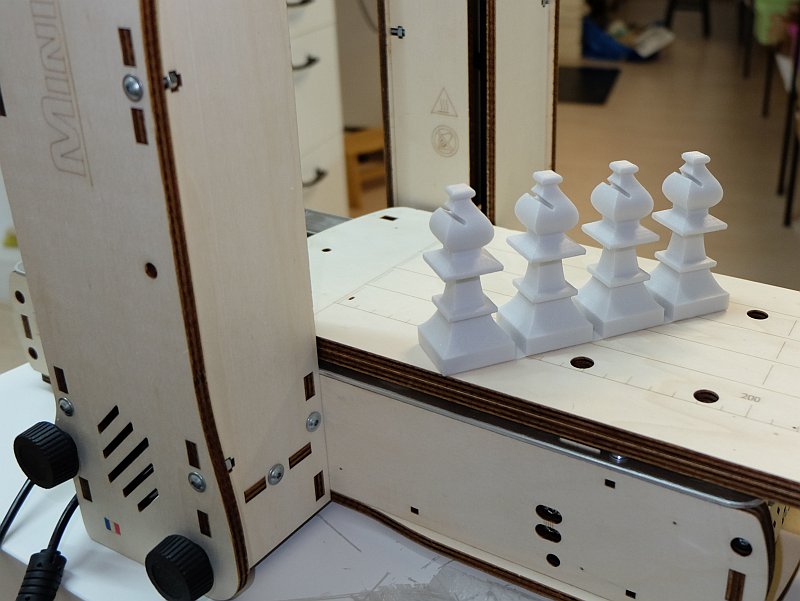
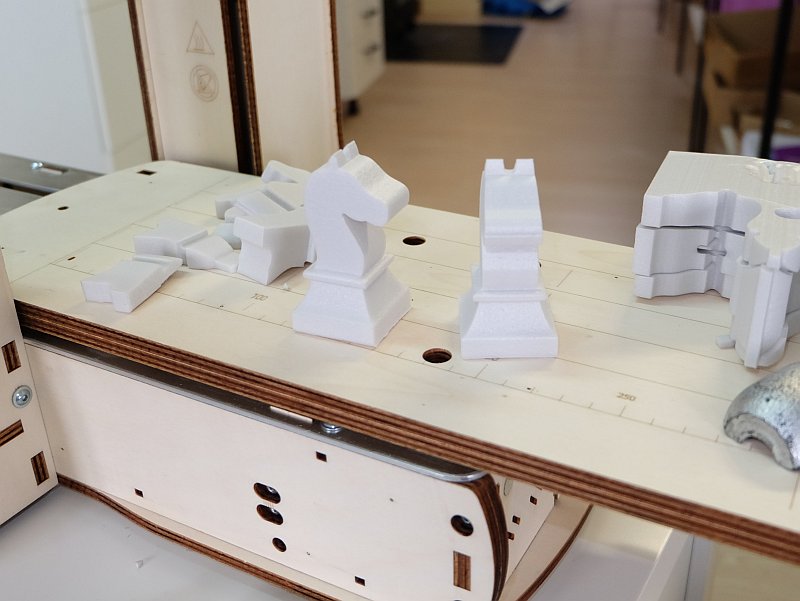
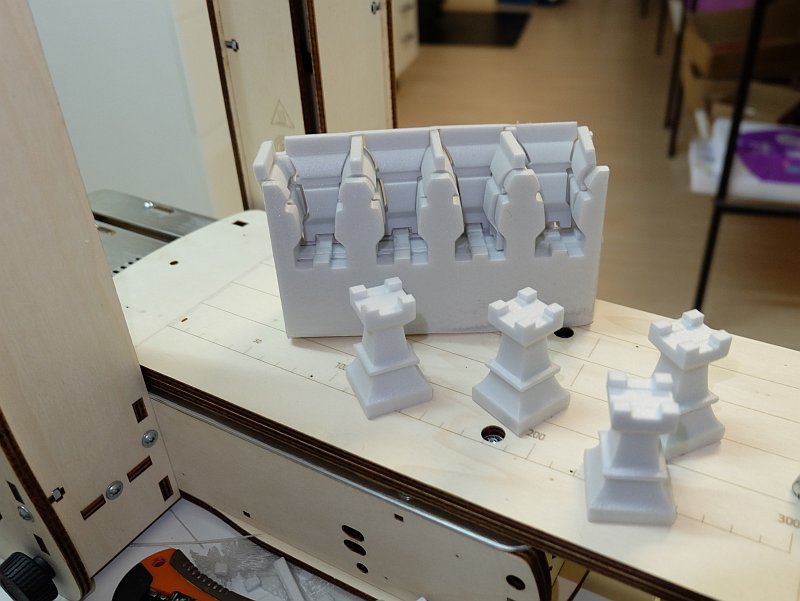
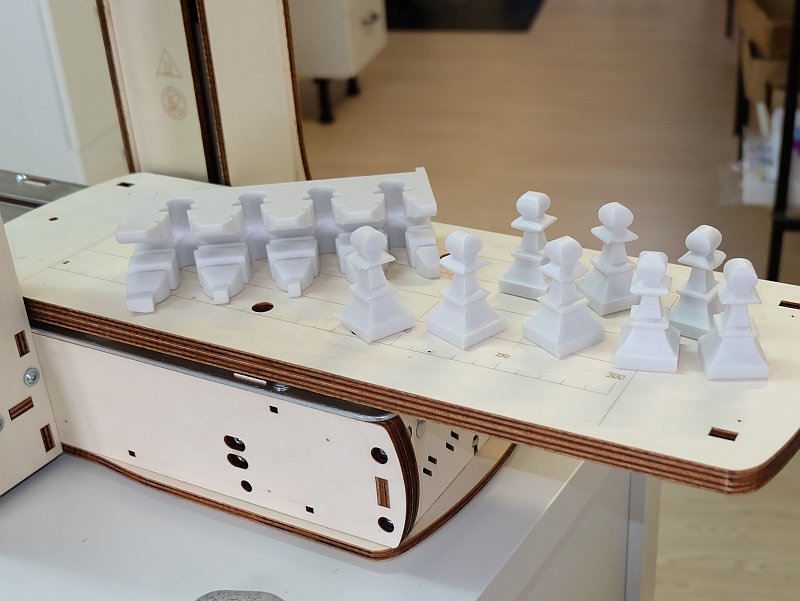
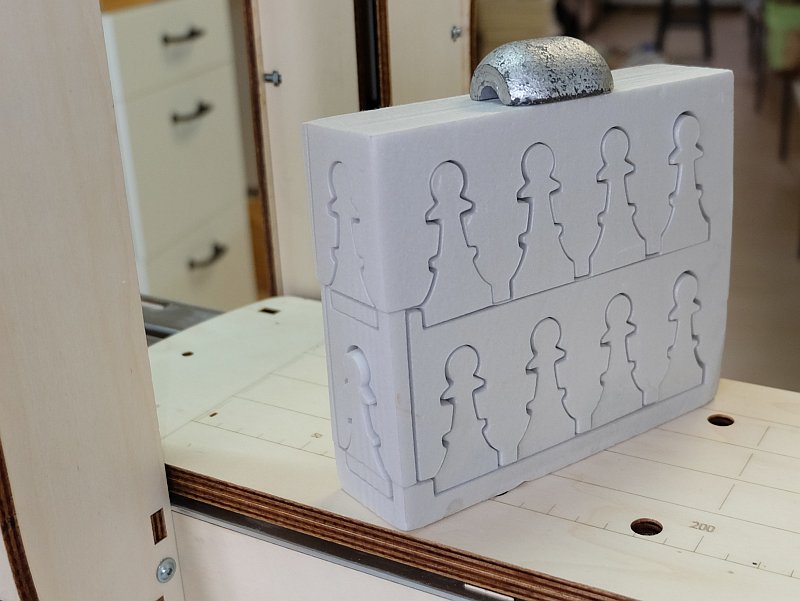
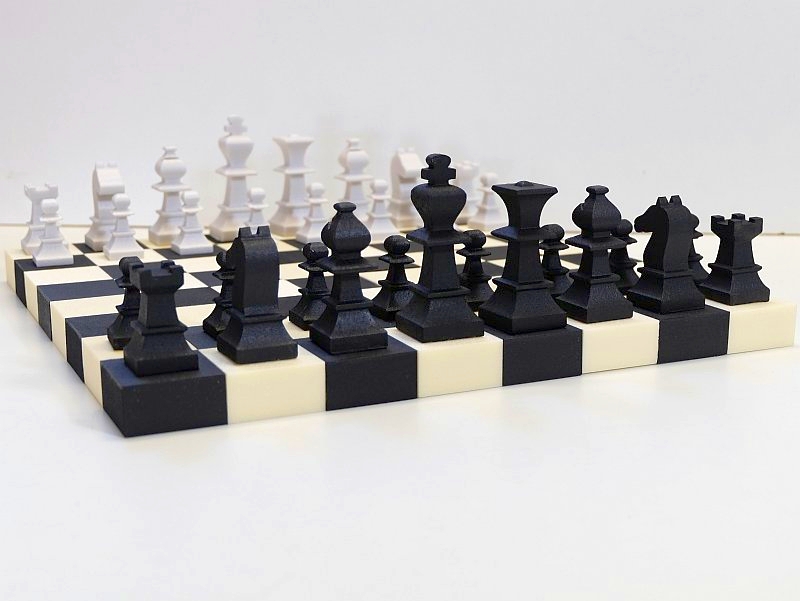
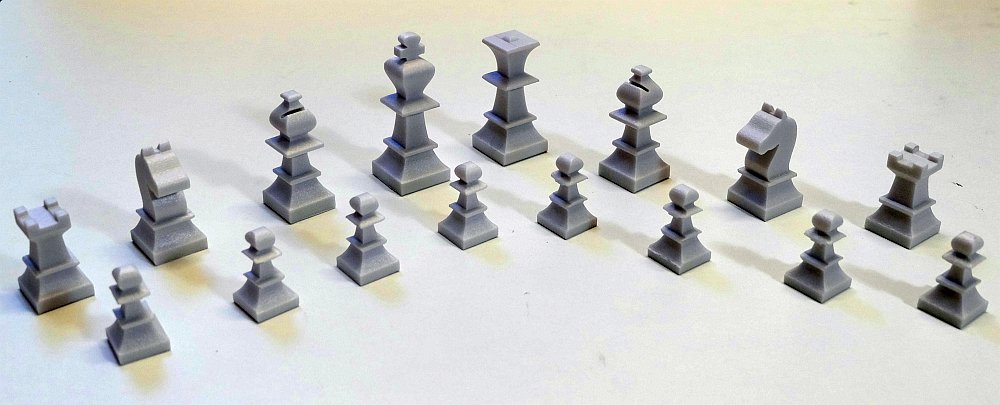
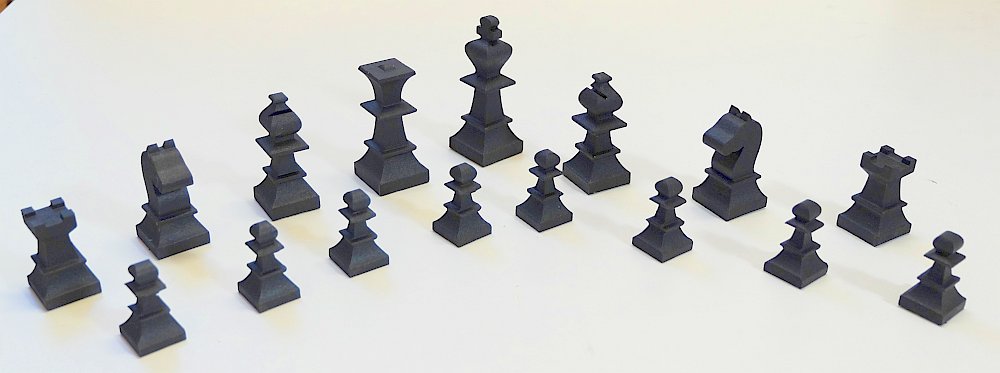
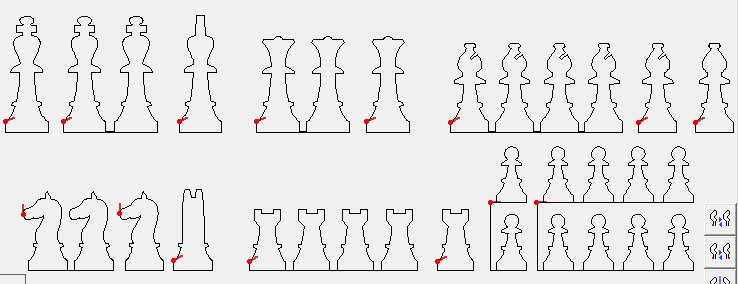
Ce magnifique jeu d'échec est découpé par la méthode de la découpe en deux vues (face+profil). L'échiquier est également découpé CNC en styrodur.
La vidéo de la découpe du roi montre le principe.
Le tutoriel vidéo sur le cavalier en détaille les étapes.
Je les écris ci-dessous pour que vous puissiez les imprimer :
- On prend un morceau de styro qui fait moins de 154mm de long (ce qui correspond à la largeur du plateau de la machine), car il faudra pouvoir le tourner de 90°.
- Dans MiniCut2d Software, on fait glisser la vue de profil dans le bloc et on la découpe.
- Sans effacer la vue de profil, on fait glisser la vue de face et on la place à côté, 0.2mm plus bas que la vue de profil. En effet, une fois découpée, la vue de profil "tombe" légèrement dans la saignée faite par le fil. Pour effectuer ce placement avec précision, on fait un placement décalé d'environ 5mm, on mesure (outil mètre) la distance réelle, puis on déplace verticalement (outil déplacement) en entrant la valeur suivant Y à la main. Exemple : si on a mesure 5.4mm, on saisi "-5.6" dans la case Y et on valide avec la touche "Entrée".
- On efface ensuite la vue de profil.
- On entre la nouvelle longueur du bloc (qui correspond à l'épaisseur du styro : 40mm dans mon cas).
- On clique deux fois sur le bouton de centrage horizontal ce qui amène la deuxième découpe au bon endroit sans modifier sa position verticale.
- On lance la découpe en corrigeant éventuellement la chauffe (voir ci-dessous).
Conseils :
Attention à bien régler la chauffe pour avoir une saignée de 1mm. Dans le styrodur on a parfois des valeurs de chauffe différentes suivant l'orientation de la matière. Avec mon styro K-foam gris de 40mm, j'ai une chauffe à 63% dans un sens et 61% dans l'autre sens.
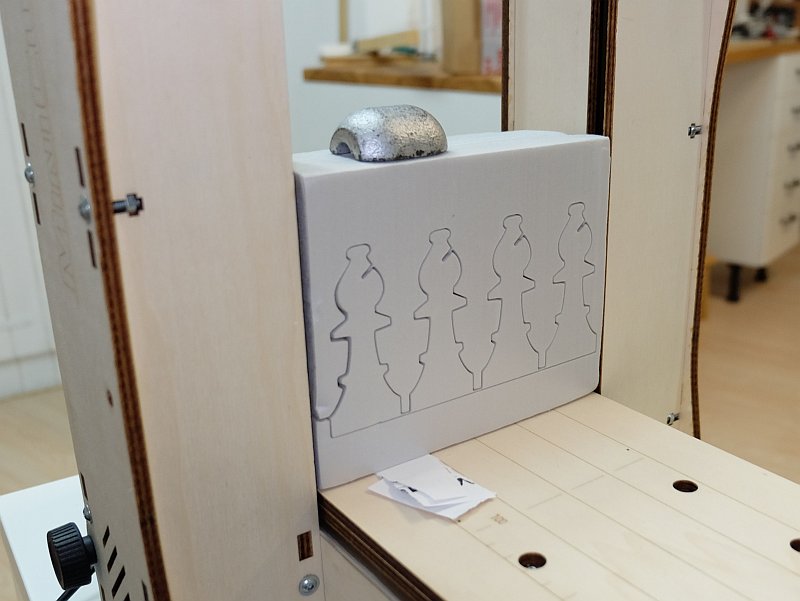
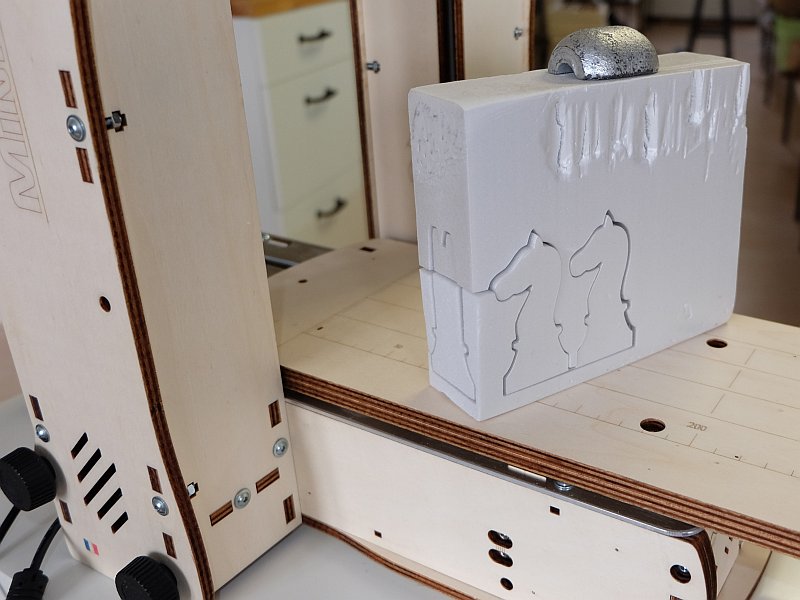
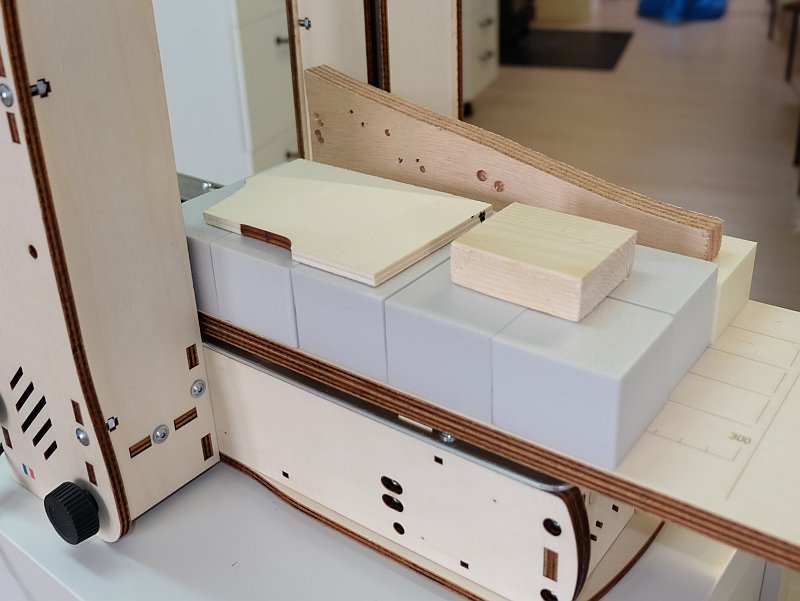
Attention à mettre un petit lest (objet, plomb) pour maintenir la matière pendant la découpe.
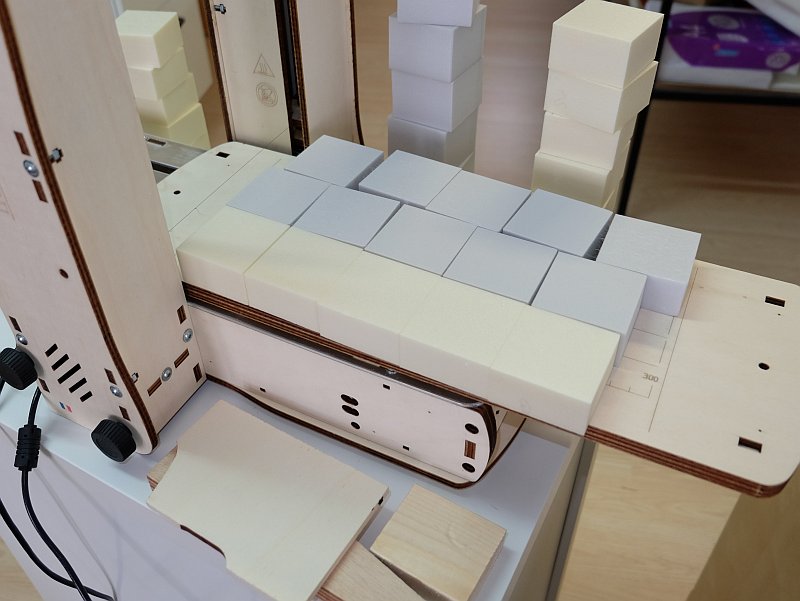
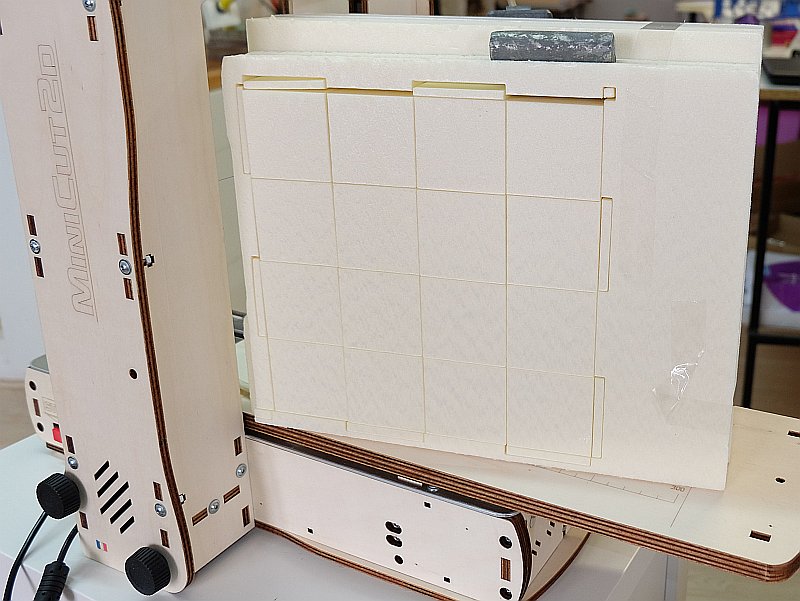
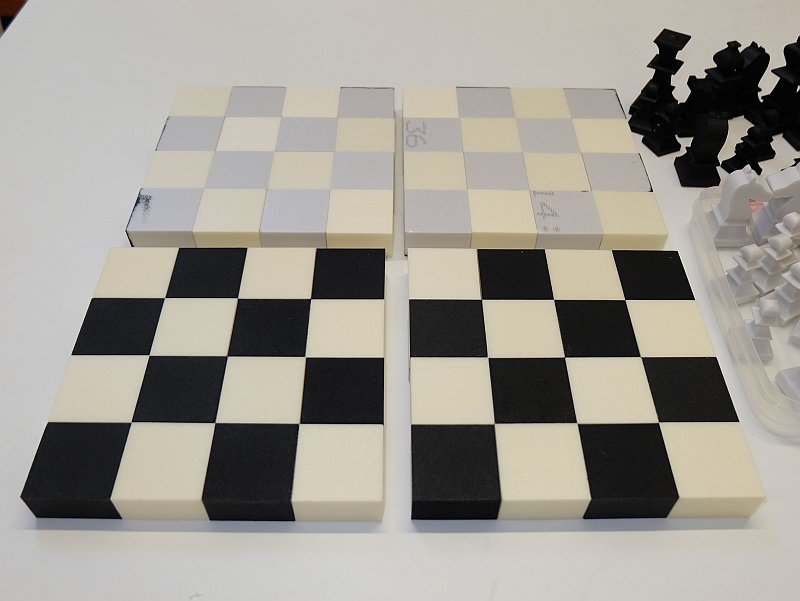
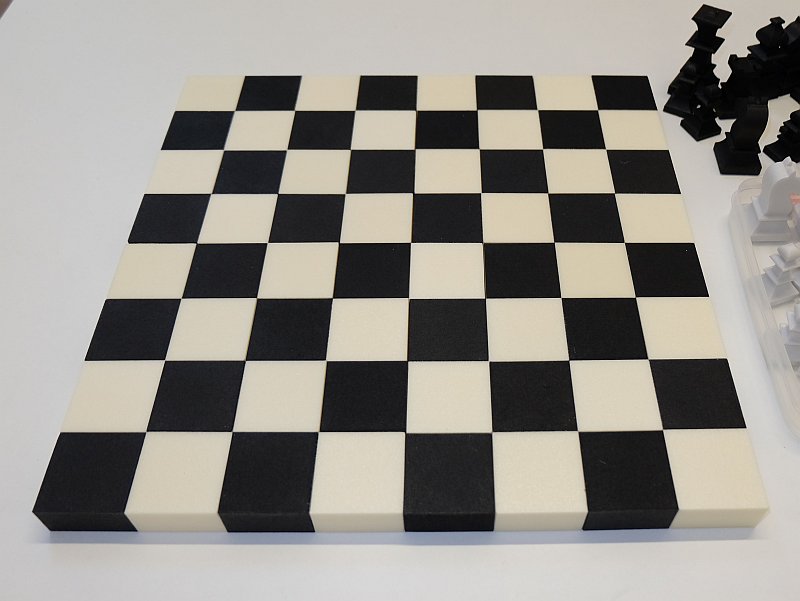
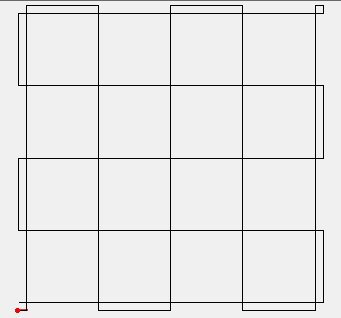
Le plateau du jeu d'échec est également découpé CNC fil chaud. Le fichier permet de découper 16 carrés identiques. Il ne faut pas décaler le fil avant la découpe pour que tous les carrés soient identiques. J'ai découpé en même temps 2 plaques de styrodur gris de 40mm et 2 plaques de styrodur jaune de 30mm pour obtenir les 64 carrés du jeu dans deux couleurs différentes.
J'ai ensuite retaillé tous les carrés à la même hauteur en faisant des aller-retour horizontaux en déplacement manuel.
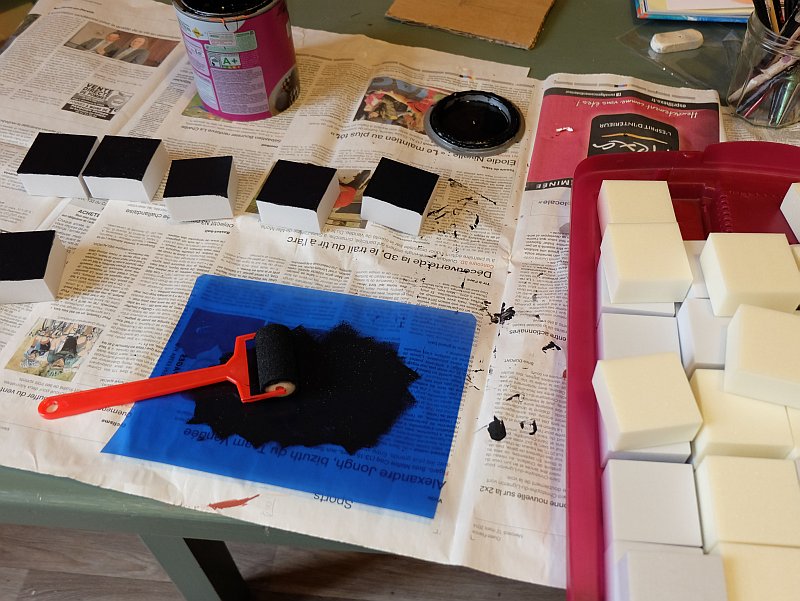
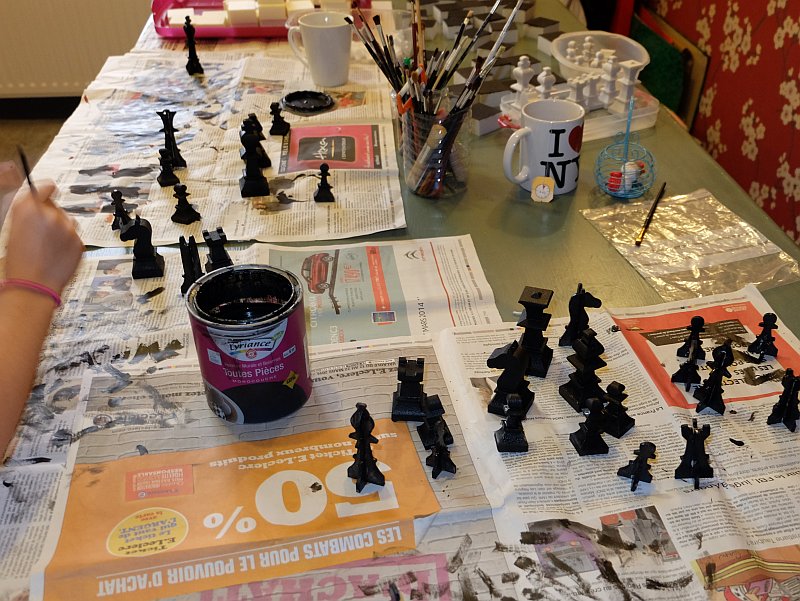
Peinture à la peinture acrylique murale (ne pas oublier les côtés des carrés noirs du tour, collage des carrés le long d'une règle à la Pattex 100% qui permet de compenser les petites irrégularités. J'ai conservé l'échiquier en 4 parties pour faciliter son transport. Je collerai probablement des aimants pour les maintenir assemblées.
En plus des fichiers originaux, je fournis également les gabarits des hauteurs des pièces qui permettent de se faire son propre jeu personnalisé en dessinant les pièces en deux vues à la main et en les vectorisant (après photo ou scan) dans MiniCut2d Software (attention, image de 1200 pixels de côté maxi pour un bon résultat, sinon trop de points et risque d'erreurs de découpe si le PC ne suit pas.)
------ English version ------
This beautiful chess set is cut by the method of cutting in two views (front + profile). The board is also CNC cut in styrofoam.
The video of the king's cutting shows the principle.
The video tutorial on the knight explains the steps.
I write them below for you to print:
- A piece of styro which is less than 154mm long is taken (which corresponds to the width of the plate of the machine), as it will be able to rotate through 90 °.
- In MiniCut2d Software, we slide the side view in the block, and we cut it.
- Before clear profile view, we slide the side view in the block and place it 0.2mm below the profile view. (Once cut, the profile view slightly "falls" in the groove provided by the wire.) To perform this placement precisely, the actual distance is measured, and then the view is vertically moved (tool movement) by entering a numerical Y value on keyboard ("Enter" validation). Example: if we measure 5.4mm, we entered "-5.6" in the Y box and valid with the "Enter" key.
- Then we can delete the profile view.
- We enter the new length of the block (which corresponds to the thickness of styro: 40mm in my case).
- We click twice on the horizontal centering button which brings the second cut in the right place without changing its vertical position.
- The cut is started after changing the heater if necessary.
Tips:
Make sure you set the heater to have a 1mm groove. Styrodur has sometimes different heating values depending on the orientation of the material. With my grey styro K-foam 40mm, I have a heater at 63% in one direction and 61% in the other direction.
Attention to put a little weight (object, lead) to maintain the material during cutting.
The chess board is also CNC hot wire cut. The dxf file allows to cut 16 identical squares. But with seriel cutting, we can cut 64 pieces in one cut. We should not ofset the wire before cutting so that all the squares are identical. I cut at the same time two styrodur gray 40mm plates and two yellow styrodur 30mm plates to obtain 64 squares in two different colors.
I then re-cut all the squares at the same height making horizontal manual movement.
Paint : acrylic wall paint (do not forget the sides of the black squares of the round)
Glue : Pattex 100%.
I kept the board in 4 parts for easy transport. I probably will stick magnets to hold them together.
In addition to the original files, I also provide templates that allow you to make your own custom game by drawing by hands the pieces (2 sides, face + profile) and by vectorizing them (after scan or photo) in MiniCut2d Software (attention : images of 1200 pixels side maxi for a good result, if there are too many points, the PC may make mistakes during the cut).


